
There is a reason why most manufacturers recommend replacing the blade annually or after 25 hours of use, whichever comes first. Sharp blades are essential for a clean and even cut. Dull blades, on the other hand, lead to ragged edges and brown tips.
If you are someone who is experiencing uneven cuts and brown tips, it is time to change lawn mower blade. In this article, we will be detailing everything you need to know regarding changing the blades, from how to take off lawn mower blade to lawn mower blade installation direction and more.
But before we do that, let’s talk about some safety precautions and tools you will need.
Safety First!
- Disconnect the spark plug – First, locate the spark plug wire and remove it from the spark plug. This will prevent the engine from accidentally starting while you work on the blade.
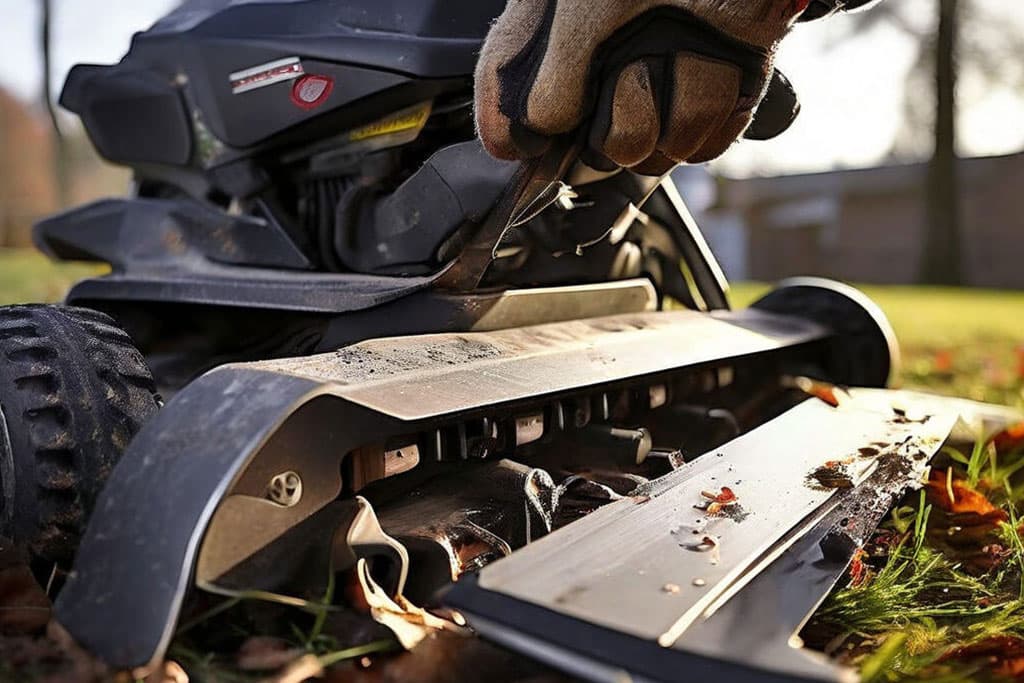
- Wear gloves – Next, you would need to wear gloves as lawn mower blades are extremely sharp. Thick work gloves will protect your hands from cuts.
- Work on a level surface – Finally, find a flat, stable area to work on your mower. Don’t forget to engage the parking brake to prevent it from rolling.
Tools You’ll Need
- Socket wrench set or wrenches (size depends on your mower)
- Replacement blade (ensure it’s compatible with your mower model)
- Work gloves
- Rag (optional)
Step-by-Step Guide on How to Change a Lawn Mower Blade
Here’s a step-by-step guide to safely and effectively changing your lawn mower blade. Read the steps carefully and learn everything from how to remove a lawn mower blade to installing a new blade and more. Feel free to go through them multiple times for clarity.
Step 1 – Tilt the mower deck.
Most mowers have a tilt mechanism that allows you to access the underside of the mower deck where the blade is located. You can consult your owner’s manual for specific instructions on tilting your mower deck. If you can’t locate a manual, search online for the make and model of your mower and download a digital copy.
Step 2 – Secure the blade.
The blade can spin freely when loosened. To prevent this, wedge a block of wood between the blade and the mower deck. This will hold the blade in place while you work.
Be cautious – Choose a block of wood that’s sturdy enough to hold the blade securely but not so thick that it prevents you from reinstalling the hardware later.
Step 3 – Remove the blade bolt.
In step three, you need to locate the bolt that secures the blade to the mower deck. Using the appropriate socket wrench or wrench, loosen and remove the bolt. Be careful not to lose the bolt, washers, or any other hardware. Don’t forget to place them in a container to keep them organized.
Step 4 – Remove the old blade.
With the bolt removed, you should be able to lift the old blade off the mower deck. Set it aside on a flat surface where it won’t pose a cutting hazard. You can consider recycling the old blade at a metal recycling facility if your local area offers this service.
Step 5 – Inspect the new blade.
Carefully examine the new blade to ensure it’s undamaged and matches the old blade’s design. The blade should have a sharp cutting edge on one side and a flat backside. Double-check the model number on the new blade to confirm it’s compatible with your mower.
Step 6 – Position the new blade.
Now, you need to carefully place the new blade on the mower deck in the same orientation as the old blade. The sharp edge should face outward, away from the mower deck. Make sure the blade sits flat on the deck and all the holes for the mounting hardware line up correctly.
Step 7 – Reinstall the hardware.
Now, you need to put the washers and bolt back onto the central shaft, then screw the bolt back into place. Hand-tighten the bolt as much as possible.
Step 8 – Tighten the bolt securely.
Use the wrench or socket wrench to tighten the bolt securely. Consult your owner’s manual for the recommended torque specification for your mower model. Over-tightening can damage the mower, while under-tightening can cause the blade to become loose and pose a safety hazard. A torque wrench can help you achieve the precise tightness recommended by the manufacturer.
Step 9 – Remove the wooden block.
Now, carefully remove the block of wood that was wedged between the blade and the mower deck.
Step 10 – Lower the mower deck.
Return the mower deck to its original position following the instructions in your owner’s manual.
Step 11 – Reconnect the spark plug.
Reattach the spark plug wire to the spark plug.
Step 12 – Dispose of the old blade.
Finally, wrap the old blade in a rag or thick cardboard to protect yourself from cuts. Dispose of it responsibly, following your local guidelines for metal recycling or trash disposal.
And Voila! You’ve successfully replaced your lawn mower blade and learned how to change a lawn mower blade. Remember to sharpen or replace the blade regularly to ensure a clean, healthy cut for your lawn.
Keeping your mower blade sharp will not only improve the appearance of your lawn but can also help extend its life by reducing strain on the engine.